
Gmail is one of the biggest email services right now. It contains lots of features and add-on. But have you ever tried out the Signature block on Gmail? If not, then this article is for you. Here in this article, I’m going to guide you about how to add a Signature and remove the Signature on Gmail. It’s simple and easy to do with some simple steps.
Before getting on the topic, let me quickly address you about the Signature block. Basically, a Signature is a customized block of text that is already assigned by the user and can be inserted at the bottom of the mail. It is automatically appended on the mail when you select the desired signature for your mail.
This Signature block helps you by reducing your time. The Signature option is available on many of the messaging platforms. Now in this article, I will guide you about how to use and insert the Signature on Gmail. It is simple and let’s get into the article.

Table of Contents
Freeze Here for a While!
How to Create and Insert Signature on Gmail?
A signature is a customized block of text that is appended automatically when you select the desired one on the Mail. At first, the signature must be created and after that, it is inserted at the bottom of the mail when you select it. Follow the below steps to create and insert a Signature on Gmail.
- First of all, “open Gmail” on your PC. And then sign in to your Gmail account.

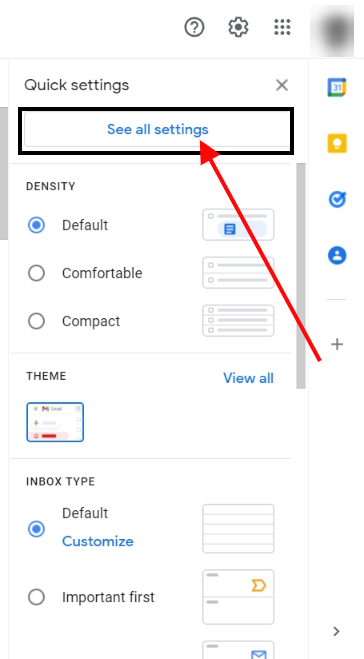
- Then, click the “settings” icon that will be located at the top right corner near your profile icon.

- On settings, select “See All Settings” option.
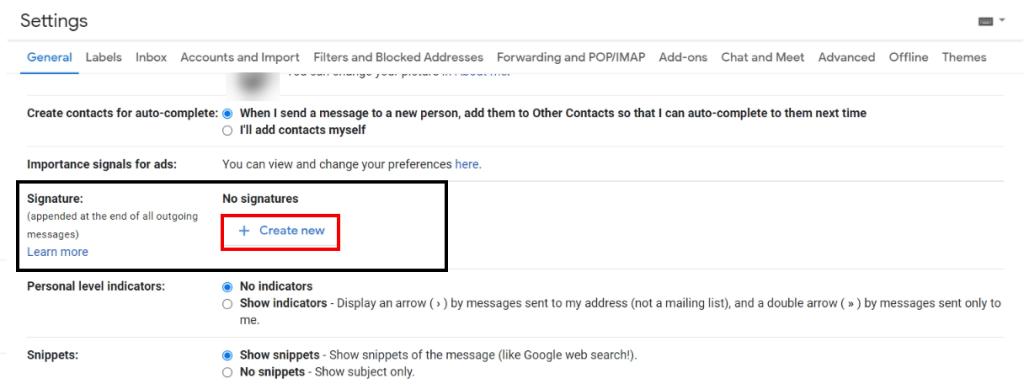
- Now on the General section, scroll down to see the Signature header. In Signature header, select “Create new” to create a new signature.
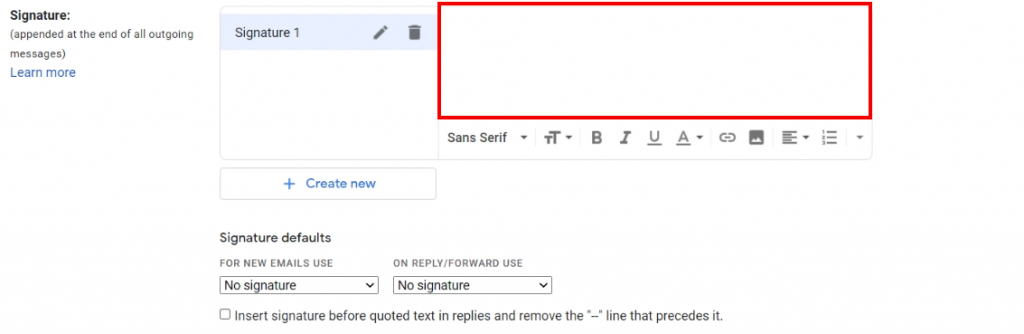
- After clicking the Create new option, you need to give the title of the signature and after that, you can enter what you want on the Signature.
- Finally, click “Save Changes” option to save your changes that you have made.
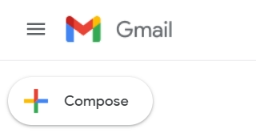
- To insert the Signatue on your Mail, select the Compose button that will be located at the top left corner.
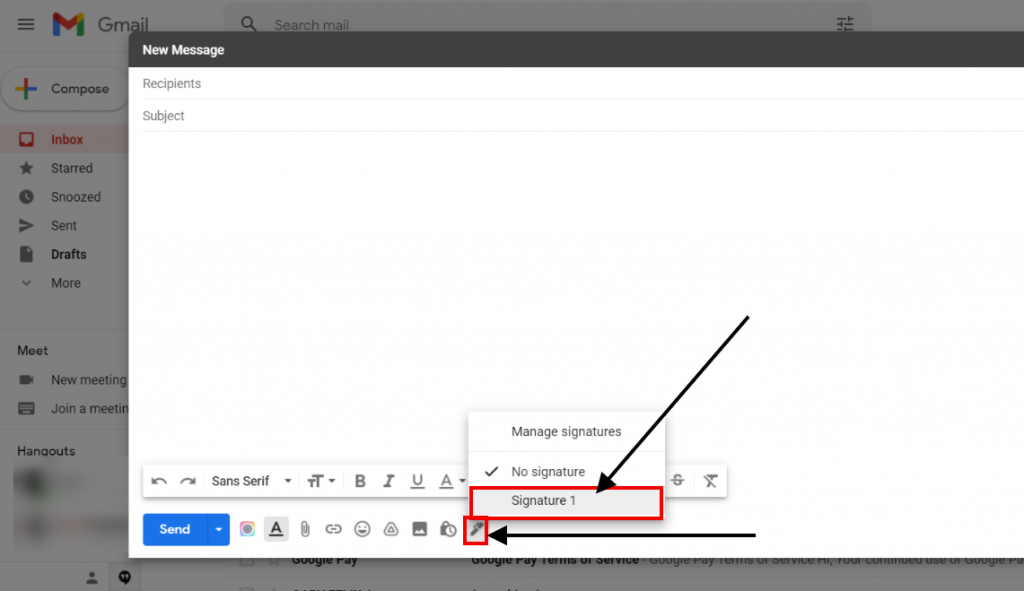
- Then in the new mail, you can see the pen icon at the bottom. Click the pen icon and then choose the Signature name which you’ve created recently. And that’s it, you have successfully created and inserted the Signature on Gmail.
How to Remove Signature on Gmail?
Creating a Signature on Gmail is simple. When it comes to the removing purpose of a Signature on Gmail, it is as simple as creating a new Signature. The steps are simple and follow the same procedures, but change the one thing, which is to select the delete option instead of creating a new option. Here are the steps to remove the Signature on Gmail.
- At first, open your Gmail and sign in to your Account.Advertisement
- Now, select the settings option and once again click the “See All Settings” option.
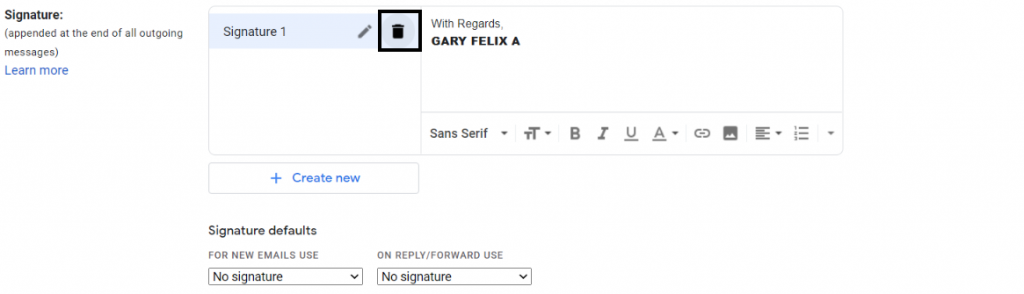
- Now on the General section, scroll down to see the signature header. Near that, select the previously created signature and select the Delete option near that signature name.
- And after that, select the option named “Save Changes” to save the changes that have made recently. And that’s it, you have successfully removed the already stored Signature.
Summary
Here’s the conclusion of the article. This article shows you how to create, insert and remove the Signature on Gmail. Creating a Signature is a simple process and removing the signature is as simple as creating. Signature is the customized block of texts that appends the text automatically. This feature is available on many messaging platforms. Mainly, the Signature option is available only on PCs. And that’s it, you have successfully created and inserted a Signature on Gmail.
opti


More Stories
How to Install Oracle Client 19c on Windows 10?
How to Report an Impersonation Account on Instagram?
How to Enable Enhanced Safe browsing on Google Chrome?